Published On Mar 16, 2024
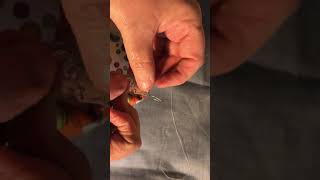
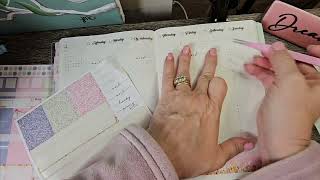
Join me in this DIY tutorial as I create a gorgeous organza rosette fascinator! Learn how to transform simple strips of organza fabric into elegant rosettes, perfect for adding a touch of glamour to any outfit. Follow along as I demonstrate the process, from sewing and gathering the fabric to attaching the rosettes to a fascinator base. Get ready to unleash your creativity and craft your own stunning accessory! To add some extra glamour, you can glue on feathers, beads, or other decorative elements to your fascinator. Get creative and make it your own!
Materials Needed:
Organza fabric strips (in desired colors) Measure the top of the fascinator base and double that measurement for the strip measurement.
Fascinator base
Needle and thread
Uhu gum/ B6000 or Hot glue gun and glue sticks
Scissors
Embellishments (e.g., feathers, beads, sequins) optional
Serger or overlocker (for whipping the ends of the fabric to prevent fraying) This is not a tool commonly used in hat making, you will need to take the organza fabric to a tailor. * The fabric used in the video was repurposed, the edges were finished by a tailor using a serger to prevent fraying. You can cut your organza and then take it to a tailor to whip the edges for you.
DIY Fascinator Base Using a Teacup Saucer
• DIY Fascinator Base Using a Teacup Sa...