Published On Nov 5, 2022
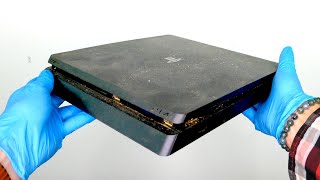
How to disassemble and safely clean your Xbox One S. In this video I demonstrate how to take apart and restore your console to factory quality! This job requires a screwdriver set, T9 and T8 bits, 91% rubbing alcohol, and new thermal compound. Start by removing the warranty sticker on the back of the console. The bottom plate can by removed with a flathead driver, prying against the white upper shell of the Xbox. Next, we will remove the screws. All screws besides the black screws will use the T9 bit. The longer screws we start with hold the top onto the device. The next set of shorter silver screws hold other components to the bottom of the frame. The black screws require the T8 bit and hold down the heatsink. After flipping the console back over, pulling from the back, upward you can now remove the top of the console. Next, you can lift the RF shield off as well. There are a series of cables to unclip as you remove the power supply and the hard drive and disk drive. The X bracket on the back of the motherboard is removed by gently prying up the edges of the bracket. Make sure to hold the fan while flipping the board back over afterward!
* All electronics were cleaned with 91% Isopropyl, compressed canned air was used to remove the dust, and micro-fiber towels were used to clean fragile surfaces, not all of the cleaning was included in this video. *
Subscribe for more amazing content!