Published On Nov 20, 2020
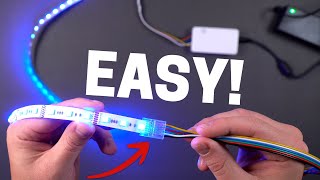
How to install solderless connectors to LED strip lights. A few notes to make sure your project is successful.
Solderless grip connectors: https://www.flexfireleds.com/wire-and...
Installation Instruction Manual: https://www.flexfireleds.com/content/...
INSTRUCTIONS:
1. Layout your strip lights and power them on. Make sure they are working properly, they're perfect brightness for your application, and the color is just what you wanted.
2. Measure the length of strip you need and cut along the indicated lines
3. Make sure the strips are aligned to match polarity, where positive will be attached to positive and negative to negative.
4. Peel the paper backing off the tape, then peel the tape off of the PCB roughly 1/2"
5. Insert the strip into the connector so the solder pads rest on the teeth of the connector
6. Using pliers, press down on the connector until you hear a click. Do this for each side of the connector as shown in the video.
7. Once connectors are installed, test the strip by hooking it up to your power supply. Make sure your power supply matches the voltage of your strips.
8. If your strip does not light up, double-check the polarity of the wires and make sure that the positive marking on the strip is attached to the wire that is attached to the positive output of the power supply or controller.
9. You're done!