Published On May 11, 2022
Welcome to my Channel!
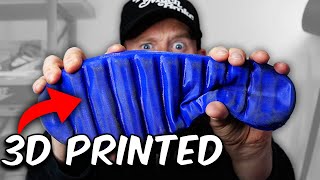
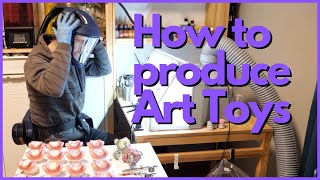
In this video I’m going to show you how I created my 3D printed and hand painted Art Toy “The Brain Can” from beginning to end.
Here's a quick rundown of what you're about to watch:
First I'll start my with a quick drawing on my iPad to get the idea out.
(Depending on what I'am 3D modeling a rough drawing works for me because I like to get more detailed in the 3D modeling process.)
Next, I take my rough drawing and upload it to my favorite 3D software, "Blender" which is my go to 3D modeling software. Where I then start the 3D modeling process.
Then once Ive completed my 3D model I take that 3D file and with some more extra work, Have the final 3D model file ready for 3D Printing which I use my "Elegoo Saturn" resin 3D printer for to bring my ideas to life!
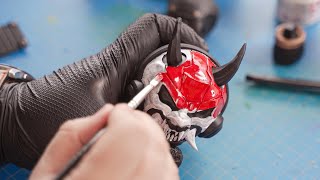
Finally, Once my 3D model have been printed successfully (which print fails does happen) I clean, cure, and prep my 3D print for painting.
In the end, Once my 3D prints are completely finished I clear coat the 3D print.
This is my art process, hope you all enjoy!
//SUBSCRIBE:
/ paulpaul313
More videos coming in the near future! Be here for it!
//FOLLOW
Website: https://www.paulpatrickart.com
Instagram: / by_paulpatrick
Twitter: / paulpatrickart
GIVEAWAYS AND PREORDERS HAPPENING SOON BE SURE TO SUBSCRIBE AND FOLLOW TOO STAY UP TO DATE