Published On Oct 10, 2023
🔨 Learn more on the WWGOA website: https://www.wwgoa.com/
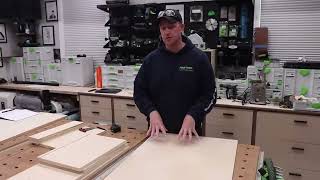
This is the final installment of our three-part cabinetmaking tutorial. Be sure to download the project plan that provides dimensional details, hardware sources and the cut list for this project.
Order of Operations
Even though a cut list is provided, it’s always a good idea to look at your projects and determine the best sequence to follow. On cabinets I build the case first, then cut and build the face frame, then derive the door dimensions. This is all shown in the video.
Looking for tips and techniques delivered straight to your inbox? Sign up for the free WWGOA newsletter today! https://bit.ly/3H3BzvC
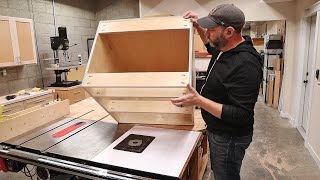
Making the Door
You can easily make the door on a router table using a tongue and groove router bit set. Follow the formula in the project plan to get your door part sizes. All cabinet door details are provided in the video.
Installing the door with its spring loaded hinges can be a little tricky. The video provides some great tricks to simplify this process.
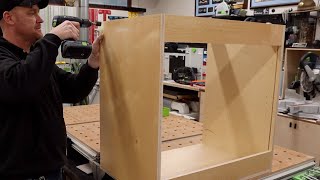
Screw Cleats and Back
There are just a few details remaining to wrap up the cabinet project. Make and install screw cleats that will allow you to hang the cabinet on a wall. The ¼” thick back doesn’t provide enough strength on its own for this. You have to hang the cabinet using the cleats.
Cut the back to size so it easily fits inside the rabbets cut in the back of the case. It’s easiest if you don’t install the back until after the interior of the case has been completely finished. You can also finish the inside face of the back before installing it.
Make your adjustable shelf, and your cabinet is ready to be put to use.