Published On Jan 23, 2020
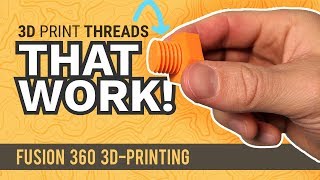
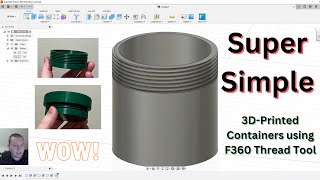
In today’s video, we’re going to talk about how to use the thread tool in Autodesk Fusion 360 to add threads to objects like screws, bolts, holes, and more!
The Fusion 360 thread tool can be used to create accurate threaded objects that correspond to real-life objects. It’s actually a really simple tool to use.
Start by drawing a circle that corresponds with the size of the threaded object you want, then extruding that into 3D.
Then, activate the thread tool and click on your object. Notice that this only works on cylindrical shapes – it won’t work on a box or anything like that.
The first thing you’re going to want to do is check the box for “modeled.”
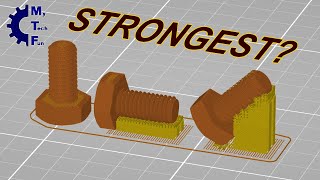
Modeled toggles the option for just applying a thread image to your cylinder to actually modeling out the threads. This can be really important if you’re 3D printing an object as it actually creates the thread geometry.
From there, you can set the thread size, class, direction, and more. There are a LOT of different thread types in the library.
One of the cool things about this tool is that you can also thread the inside of circular holes as well. Simply model out your hole (in this case the same size as the threaded rod we created), model a perimeter, and extrude your object. Then you can simply activate the thread tool and click on the cylinder in the inside of the circle.


