Published On Aug 13, 2022
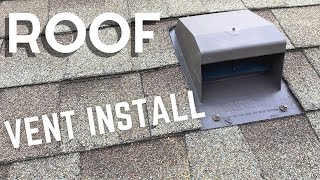
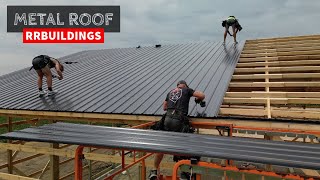
This video demonstrates the installation of a whirlybird roof ventilator on a trimdek metal roof.
Required Tools:
- Marker
- Impact Driver (tek gun) & teks
- Left and right tin snips
- A Level
- Roof and Gutter Silicone
Steps:
1. Place the whirlybird so that it overlaps the ridge cap.
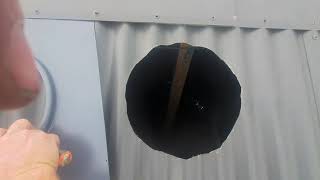
2. Use the whirlybird base as a template and mark a circle.
3. Make a hole and circle using snips.
4. Remove any teks from the ridge cap.
5. Place the whirlybird base under the ridge cap.
6. Bend the sides over the sheeting ribs.
7. Tek the whirlybird base into place.
8. Cut and bend the whirlybird base in accordance to the sheeting profile.
9. Use silicone to prevent leaks (note can also install underneath the whirlybird base for extra leak prevention)
10. Place the whirlybird tube onto the base
11. Level the whirlybird and place teks to ensure it does not move.
12. Install the top whirlybird.
--
DISCLAIMER: always wear gloves and other PPE (personal protective equipment), the person in the video has a lot of experience.
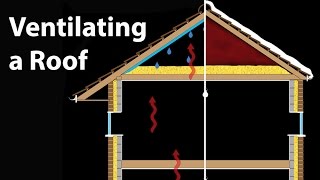
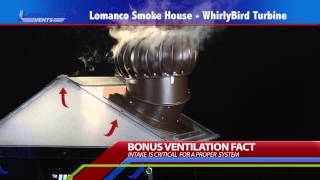
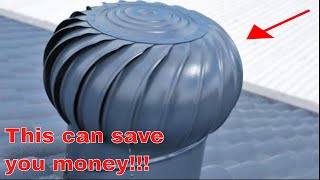
A whirlybird ventilator exhausts heat from a shed without using electricity. For large sheds, a second ventilator may be required to properly exhaust the head.
Reduce temperature in shed
- No electricity required
- Quiet
- Colours to match your shed
- Removes the hot air trapped in the roof of the shed
- Reduces the condensation and dampness of the shed
See: https://royssheds.com.au/options-and-...
--
If you like these types of videos and would like to see more of them, please like/subscribe and let us know what you would like to see :)
Please let us know if you have any questions or if you have any recommendations.
--
Perth Wide Custom Steel Shed Suppliers and Builders
Website: https://royssheds.com.au/
Phone: 08 6230 2250
Online Quote: https://royssheds.com.au/request-an-o...
#roof #vent #sheds #installs #diy #whirlybird