Published On Aug 5, 2023
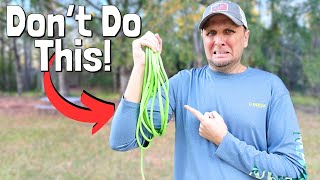
We’ll show you one of 5 ways to wind up extension cords. The Figure 8 method is a great way to wind and stow cords - and you only need your arms to do it!
#extensioncord #powercable #cablestorage
Buy your DFJ T-Shirt, Cap, or Coffee Mug at https://www.dirtfarmerjay.com/shop
This is one in a series of episodes showing different methods of winding up and/or using extension cords. In this series, we will show the daisy chain, over-and-under, figure 8, cord reel, and cord bucket approaches.
This episode features the Figure 8 method. We’ve heard it called other names as well; “arm-knitting” is one.
No matter what method you use to wind up your cord, always get the BEST extension cord you can afford. The cheaper the cord, the stiffer it will be, especially in cold weather.
Extension cords come packaged in a coil (much like a garden hose) or looped into an oblong shape with a sleeve around the middle. For the jobsite, we recommend 14 gauge or higher. Remember, when it comes to wire gauge sizes, the smaller the number, the larger the conductors.
For that new cord, unwind and stretch it out somewhere in the sun. It can be on the lawn, sidewalk, or driveway. Leave it out for about an hour to get the cord warm so it can “relax” and lose any memory it acquired during the time it was packaged. If it’s winter when you get your cord, place the cord somewhere warm until the cord is supple. Now you wind up the cord using the method you prefer.
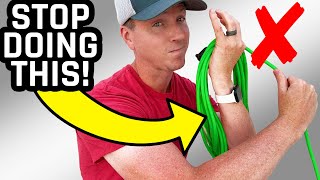
To do the “figure 8” wind-up, begin by laying out the cord and get any tangles or twists out. Gather the two plug ends. Depending on what “handed” you are, grip the two cables right beside the ends with one hand and stretch your arm out away from your body to the side (not the front). Then use the other hand to reach down and pick up the pair of conductors and stretch that hand/arm out the other side of your body with the conductors draped over the top of the hand and dangling down.
Now reach over with the first hand and wires and reach behind the wires hanging down and return the hand to its outstretched position. You have now formed the first loop. Now alternate. Reach behind the first arm/cable with the second hand and return to the outstretched position. You now how two opposing loops - one around each arm.
Continue that alternating process until the cable is all stowed, and then tuck the ends through the loops to secure it. To unwind, untuck the ends and play out the cord. It’s very efficient, tangle-free, and consists of large loops to help the cord lay flat when it is played out and in use.
The advantages of this approach include not needing any additional gear, a large amount of cordage can be wound up easily (as much as your arms can hold!), larger loops help the cable to lay flatter when it is in use, and it’s relatively easy for a helper to see how to unwind the cord.
One caveat. If the ends are not untucked before attempting to unwind the cord, and they are simply pulled on, the cord will knot up. However, it’s pretty easy to take a look at the loops and understand that you need to get the end out of the way to allow all the cordage to play out.
Lastly, it looks pretty cool on the jobsite and there are two ready-to-go places (either end of the "8") to hang the cord up using the combined conductors.
Whatever method you use, taking the time to wind up and stow your gear at the end of the job pays off in having gear that will last a long time, and will allow you to set up faster on the job, as well out pack out sooner and be on your way.
While you’re at it, check out these OTHER methods that trade professionals use as well:
View the "Over and Under" Method Here:
• Best Way for Tangle Free Extension Co...
View the "Daisy Chain" Method Here:
• Tangle Free Extension Cords: The Dais...
View the "Cord Reel" Method Here:
• Are Cord Reels for Winding Extension ...
View the "Cord Bucket" Method Here: COMING SOON
JUST DO IT YOURSELF!
Instagram: / dirtfarmerj
Facebook: / dirtfarmerjay