Published On Feb 11, 2024
Ender 3 Neo Max: From Bust to Boom - Fixing & Setting Up Your Printer (Part 1)
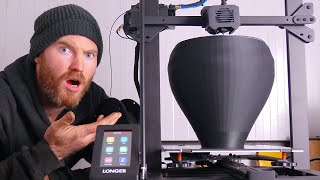
I just bought a broken Ender 3 Neo Max from eBay. This video series is your one-stop shop to resurrect your 3D printer and unleash its potential.
In Part 1, we'll dive into the diagnostic phase:
- Unboxing
- Initial Assessment: Identify missing parts and broken parts
- Ender 3 Neo Max Assembly
- Fixing the Screen
- Solutions Made Simple: Follow clear, step-by-step instructions to address common problems.
By the end, you'll have:
A clear understanding of your printer's issue(s).
The tools and knowledge to tackle basic fixes.
Confidence to move on to the next steps in the series.
Stay tuned for Part 2, where I'll guide you through replacing and rewiring the printer board, and in Part 3 setting up the Stealthburner extruder with the BIGTREETECH EBB SB2209 CAN and BIGTREETECH KNOMI V2.0.
Bonus: Throughout the series, we'll offer handy tips, answer frequently asked questions, and share our 3D printing expertise.
Remember, with a little TLC, your Ender 3 Neo Max can print masterpieces, not meltdowns!
Thanks to Chitu Systems: https://www.chitusystems.com/ for sending me their Conjure PLA+ for testing.
Thanks to BTT for sending the BIGTREETECH EBB SB2209 CAN and BIGTREETECH KNOMI V2.0 for this build.
Links:
- Chitu Systems Conjure High-Speed PLA+ Filament - https://amzn.to/3IfkNvf
- BIGTREETECH EBB SB2209 CAN - https://amzn.to/49wLEhG
- BIGTREETECH KNOMI V2.0 - https://amzn.to/49tEgDY
** Note: I may earn a commission at no extra cost to you if you click an affiliate link and make a purchase. **