Published On Oct 6, 2018
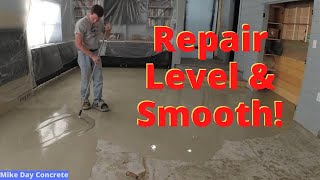
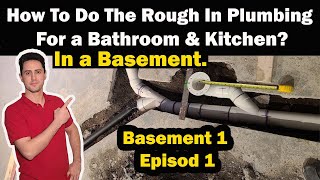
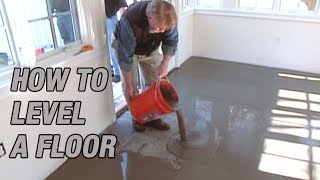
In this first video we share how to self level a bathroom by starting with prep work. This concrete basement floor was severely out of level and needed Tapcon screws placed in different spots to serve as height indicators, we'll deep dive into all the prep details.
For more home improvement tips visit https://www.homerepairtutor.com/👍🏼
Helpful Links:
Supply List (everything you need) -- https://amzn.to/2OaEVoF
LATICRETE Prime-N-Bond -- https://amzn.to/2pF4iA3
Paint Roller -- https://amzn.to/2PdOAXN
Hammer Drill -- https://amzn.to/2PdOAXN
Concrete Screws (1-3/4") -- https://amzn.to/2QsbvPs
Concrete Screws (2-1/4") -- https://amzn.to/2EaLAu6
4 Foot Level -- https://amzn.to/2zVmR8Z
Latex Caulk -- https://amzn.to/2BZa5b7
Sill Plate Foam -- https://amzn.to/2PgPvqD
Stapler --https://amzn.to/2C0af1Z
Silica Dust Respirator -- https://amzn.to/2BZl98g
The first thing to do is establish the high side of the room and gain a general understanding of how bad out of level the bathroom is.
Then drill holes in the concrete floor and add concrete screws as height indicators. Check the screws are at the correct height using a 4 foot level.
Shop vac the entire floor then apply latex caulk between the concrete floor and 2x4s. This prevents the floor leveler from seeping under the walls.
Finally, wipe down the concrete floor with a damp sponge, staple sill plate foam to the wall, and prime the floor - in this example we used LATICRETE's PRIME-N-BOND because we used their leveler.
Watch our video for all the details