Published On Sep 22, 2022
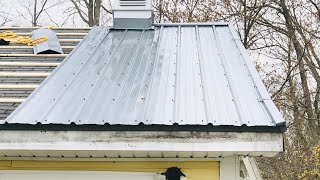
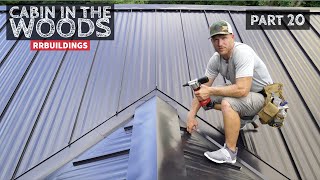
Ever scratch your head trying to figure out how to install a valley flashing that runs into a pitch change, And make it not leak? In this video I’ll show you the best way we have found to install such a transition, this method should work with just about any type of metal roof you are installing.
Here are some of the tools we like to use, these can be found on amazon via the following links;
Left off-set snips: https://amzn.to/3uJD5kF
Right off-set snips: https://amzn.to/3NcSpMS
Edge roller: https://amzn.to/3GtsBs6
The caulk we Love to use (super strong!!) https://amzn.to/3GzyF2r
18” hand break: https://amzn.to/3GrB0wn
You can also get this in a 24” length for Hemming the bottoms of valley angles on standing seam.
Our favorite gloves: https://amzn.to/3T5jp4R
Our favorite roofing Shoes: https://amzn.to/482YyU4
(AKA) Hiking Boots)
Power Metal Shear: https://amzn.to/46IIh5B
Impact driver: https://amzn.to/3t26iqn
Hand Break 6”: https://amzn.to/3R6uiRb
Hand Notcher to notch the bottom edges of your standing seam panel for Hemming the bottoms if they don’t come pre-notched from the manufacturer: https://amzn.to/3Tbl88K
Rubber Mallet: https://amzn.to/46HAk0A
I am an Amazon associate, and may earn a commission if you purchase any of the products using the links I have listed in the description.