Published On Feb 25, 2022
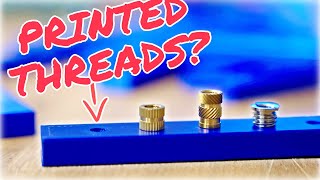
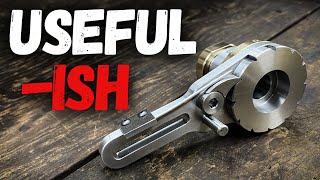
Design process of the tool that makes life easier with threaded iserts. There are around 32 itterations before I got to final design. I got good results with my first test but then decided to make it better... little I knew, that what I tried to fix was actually the clue to get good result. But I'm glad I figured it out and didnt design it by accident.
Printed in PLA and TPU, designed in Rhino 3D with grasshopper plugin:https://www.rhino3d.com/
To download files check: https://ussadesign.com
Other 3D Printed Tools for Woodworking:
3D Printed Vacuum Clamp : • Vacuum Clamp for Woodworking || 3D Pr...
3D Printed Tool for Round legs: • How to make round legs for Furniture?...
Instagram: / ussa_design
Patreon page: / ussa
3d printers used :
Artillery Sidewinder X1: https://amzn.to/318pRvN
Artillery Hornet: https://amzn.to/3m1MaPc
Creality Ender 3 V2: https://amzn.to/317DXNY
Artilery Hornet: https://amzn.to/3m38esJ
Creality official website: https://www.creality3dofficial.com/?s...
Creality Ender 3 V2: https://www.creality3dofficial.com/pr...
Camera gear:
Camera: https://amzn.to/3tOKV6K
Camera lens: https://amzn.to/3cbLSAa
Second monitor: https://amzn.to/3tO3pUZ
Microphone: https://amzn.to/3fbALZM
Lights: https://amzn.to/3sfYWdm
#lathechuck
#productdesign
#prototyping
#DIY
#3dprinting
#ender3v2
#sidewinderx1
#artilleryx1