Published On Dec 19, 2012
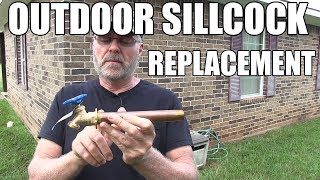
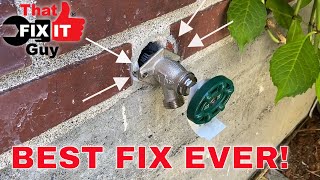
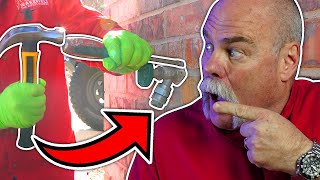
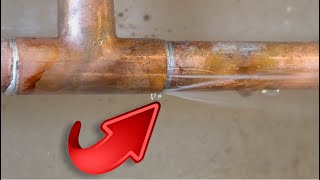
This video shares tips for installing an outdoor frost-free sillcock or hose bib. You'll understand how to use a SharkBite fitting with the new sillcock to make the project 100% easier versus having to solder. So no soldering is necessary. This video is part 2 of a 2 part series.
Part 1 Remove the Old Hose Bib: • How to Install a Frost-Free Sillcock ...
For more tips on how to install a frost-free sillcock:
https://www.homerepairtutor.com/frost...
0:00 Put a SharkBite Fitting on the Sillcock
0:34 Install the faucet at a slight angle
1:04 Insert the Pipe into the SharkBite Fitting
1:55 How to Shim the Sillcock to Create the Draining Angle
#frostfreesillcock #hosebib #installhosebib
Want our newest DIY videos? Subscribe to our channel and hit the notification bell to see every upload. We upload new videos every Saturday.
Recommended Materials:
Frost-Free Sillcock: https://amzn.to/2RaLVCh
Some product links may be Amazon affiliate links. As an Amazon Associate we earn from qualifying purchases at no additional cost to you.
Disclaimer:
Videos produced by Home Repair Tutor are provided for informational, educational, & entertainment purposes only. Some of these projects, materials, and techniques may not be appropriate for all ages or skill levels. Home Repair Tutor does not make any claims of the safety of the projects, techniques, or resources listed on this site and will not take responsibility of what you do with the information provided by this site. Viewers must be aware by doing DIY projects on their homes they are doing it at their own risk and Home Repair Tutor cannot be held liable if they cause any damage to their homes. Home Repair Tutor cannot claim liability with all applicable laws, rules, codes and regulations for a project.